

Like us humans, motorcycles need to be able to breathe easily. When they don’t, performance can be significantly reduced.
A clogged filter can lead to poorer fuel economy, power loss and rough idling. Replacing your air filter can be a quick and simple remedy to a host of ills.
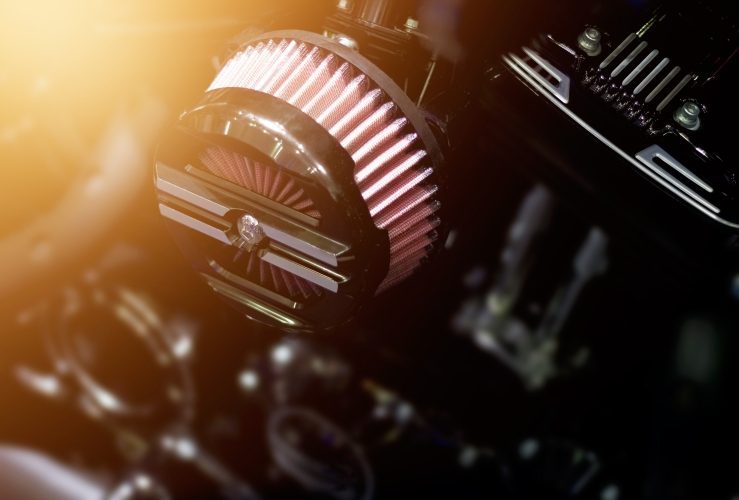
As the name suggests, an air filter prevents unwanted particles such as dirt and dust from entering your engine. In most cases they are manufactured with heat-cured, resin-infused pleated 'paper'. They can also be made from a foam-like material. These layers catch undesirable particles, which eventually build up to the point where the filter no longer works effectively, preventing the engine from getting the clean air it requires.
As mentioned, filters can be made of a paper-like material or from foam. They can also be made from pleated cotton. As with so many motorcycle components, a wide range of companies make air filters.
Air filters are also necessary in other combustion-engine machines, including lawnmowers and cars.
New bikes are usually fitted with filters made from the paper-like layers, often connected to metal supports.
Pleated cotton air filters are increasingly popular replacement filters, available from aftermarket retailers.
Your air filter may be easy to access – perhaps via a filter cover on the side of the engine – or it may require some time and effort; it might even necessitate the removal of your fuel tank.
Your owners’ manual will tell you how to access the filter and how to clean or replace it. Take particular care if you have to remove the fuel tank. Your bike may feature a 'petcock', which must be turned to the ‘off' position before the tank is disconnected. Be ready with some old rags to absorb any spillages.
Before unscrewing the air filter cover, give the screws a short blast of compressed air to remove any debris. Make sure you protect the air box from any particles. Cover it up if with a rag if it is to be exposed for a long period. Be sure not to drop any screws in the air box. If you do, use a telescoping magnet to retrieve them safely and effectively.
If you have a sponge- or foam-type air filter, you may be able to clean it with soap or some other solvent. Make sure you remove the majority of the grease and debris. Rinse off and allow to dry. If it is very dirty and damaged, you should replace it.
Pleated paper-style filters may be used twice, but usually no more. Blast compressed air through the rear to dislodge dirt and dust. Make sure it doesn’t get wet or come into contact with oil.
For aftermarket pleated cotton filters, use some kind of solvent to break down the grime. Soak then rinse from the rear and let it dry in naturally (don’t use a hair dryer as this could shrink the fibres). Use new special filter oil to thinly coat the filters. Let it dry and recoat if required.
After cleaning your filter, it’s time to fit it back into your bike. Ensure your filter is connected the right way round, so the air flows through it properly. Ensure any rubber O-ring is in the correct positon. Replace the cover and ensure all screws are back where they came from.
Without a clean filter, your bike won’t perform optimally. But thankfully, replacing your filter is generally quick, easy and cheap.