

Motorbikes feature very few 'superfluous' components, but among the least superfluous are your brake pads.
Without effective pads, you're putting yourself in danger and failing to replace them in a timely fashion could cost you some serious cash.
How to tell if motorcycle brake pads are worn?
Wondering how to know when to change motorcycle brake pads?
Even those with little mechanical experience can tell if their brake pads need to be replaced, via a very simple process.
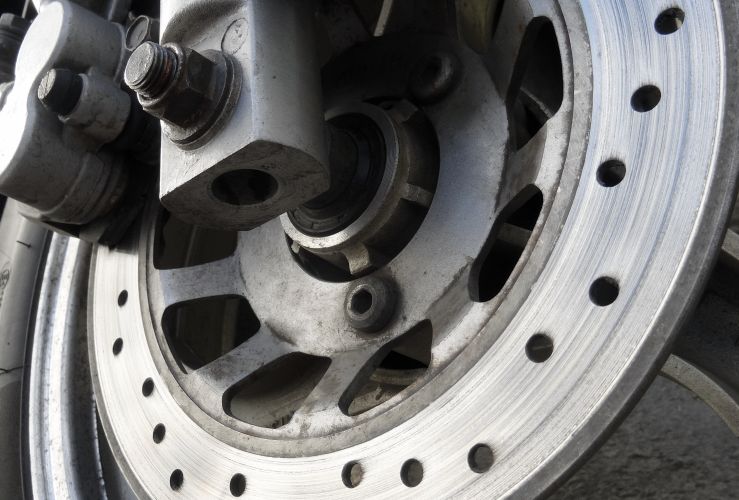
How to check motorcycle brake pads
Most feature a motorcycle brake pad wear indicator groove in the pad surface. Once this has disappeared, or the motorcycle brake pad thickness measures around 2mm, it's time to replace the motorcycle brake pads.
Replacing your pads by hand?
There are a few basic tools and items you'll need for changing motorcycle brake pads:
- High quality spanners
- Allen keys of suitable dimensions for the caliper retaining bolts
- An old rag
- Brake cleaner
- Brake fluid of suitable grade
- Pliers
Note: You should always check your vehicle handbook for any fault remedy before carrying out any work on your vehicle. If you are unsure of what is required to fix any problems, please consult a professional.
Reasons to replace your brake pads
If your motorcycle brake pads are worn you should replace them as:
- Worn pads will reduce braking power
- Your brake discs could be damaged (and will be costly to replace)
- You run the risk of having a serious accident
How to change motorcycle brake pads
Note that you should replace front and rear pads at the same time.
When changing motorcycle brake pads, take care not to contaminate the brake pad surfaces with grease and be sure not to let the brake fluid meet with your paintwork – since it is highly corrosive.
- Loosen the screws connecting the outgoing pads to the caliper before taking it off. This will make your task easier. However, be sure not to take out the screws completely at this stage.
- Carefully remove the caliper retaining bolts, but don’t let the caliper hang on its brake hose. You can use a length of cord to hold it secure. Avoid unhooking the hose or you'll need to bleed the system – which is unnecessary and will take you a long time.
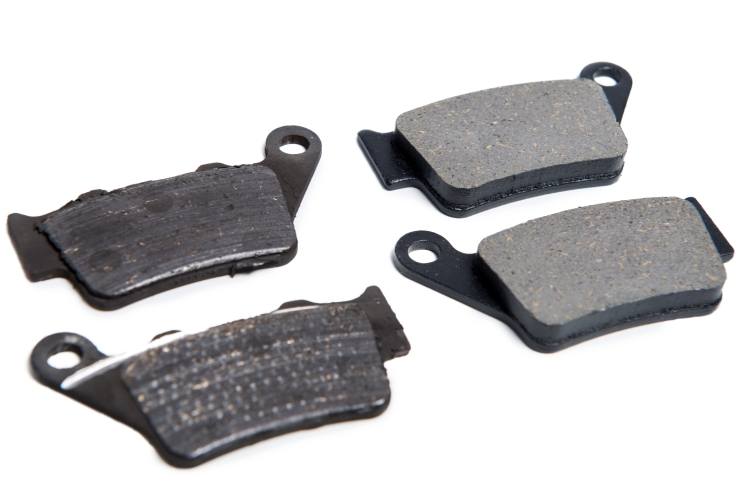
- The old brake pad will be held inside the caliper with clips, pins or 'R' clips. Take these out with your pliers. Compare old and new pads and ensure they are of the same type. Be sure to set aside any parts you will need for re-installation – such as anti-squeal shims.
- Gingerly pull the front brake. This will cause the pistons to slide a little out of their bores. Don’t use too much force or the pistons will pop out and will be troublesome to re-fit. If this happens you'll need to bleed your system.
- Using brake cleaner rub the caliper with an old rag. The uncovered ends of the pistons should be so clean they shine. Clean and take off the cap and diaphragm, then remove any moisture.
- Firmly push the pistons into the caliper. Ensure that the fluid reservoir does not spill over. As you push one piston in, be sure that the other piston is not pushed out.
- Help prevent brake squeal by adding copper grease to the rear of each brake pad. Having cleaned and greased any pins with copper grease, attach the pads and put the pins back in. The friction side of the pad must face the disc. There should be a gap between the pads for the brake disc. Be sure all the necessary parts are replaced.
- Manoeuvre the caliper onto the brake disc, making sure that there is a pad on either side of the disc. The pads should be correctly placed.
- Put the caliper bolts back in, applying grease to the non-threaded area of the bolts. Secure using the torque recommended by the manufacturer.
- Now the pistons need to be re-adjusted to the pads. Do this by pumping the brake lever a few times.
- Once you've made sure the brake fluid reservoir is fully topped up, replace the diaphragm and the cap.
Be gentle with your brake pads for the days following the refit. Give them time to bed in properly.
Is your motorcycle breakdown cover policy due to renew soon? Get a quote from Start Rescue.