

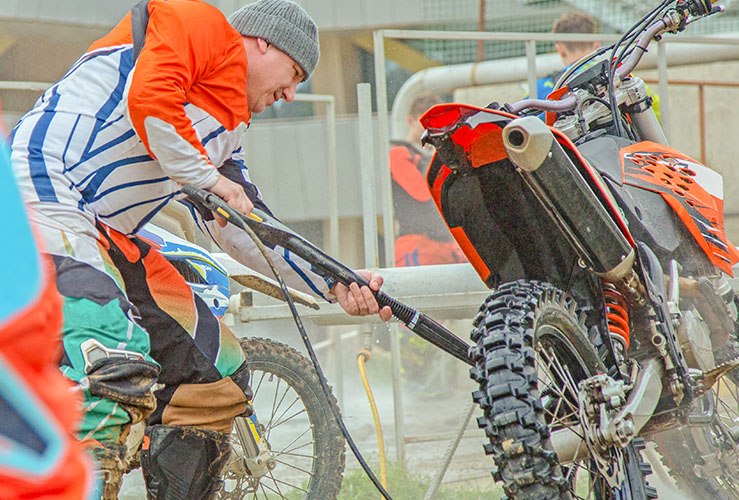
For some riders, jet washing one's motorcycle is a decidedly controversial subject. There's no denying that if you direct the nozzle to delicate parts of your bike, damage may result - particularly if the jet wash is on the most powerful setting!
Many bike owners worry that jet washing could result in water leaking into the electrics - a valid concern, but again, nothing to worry about if you direct the nozzle in the right places.
Stickers and decals may also be damaged if you point the nozzle towards them.
However, for aluminium swing arms or rear wheels, the jet-wash can be a fast and highly effective way to remove caked-on muck and grime.
It's important to understand that anodized aluminium, bare aluminium and chrome each need to be cleaned in a different manner.
Your motorbike's handbook will tell you how to clean your machine effectively. Before buying any cleaning products, read the instructions carefully and ensure they tally with the handbook's recommendations.
It's entirely possible to spend several hours cleaning one's machine - especially if you want it to look like a show bike - but for most people, this is simply not realistic. Using a jet wash for certain parts of the bike can speed up the process for busy modern riders.
If in doubt, avoid using jet washing machines and opt for warm soapy water and a cloth.
Risks of Jet Washing a Motorcycle
Jet washing can be convenient, but it does come with potential risks. If used carelessly, a high-pressure stream can force water past seals, into bearings or electrical connectors, leading to corrosion or malfunction over time. Directing the jet too close to paintwork or decals can strip them away. To minimise risk, always use a lower pressure setting and maintain a distance of at least two feet from the bike’s surface. Avoid aiming the jet at chain links, brake callipers, suspension components or the dash area.
For more maintenance advice, see our guide to motorcycle chain maintenance, which covers safe cleaning and lubrication techniques to prevent corrosion after washing.
Which Pressure Washer is Best to Use on Your Motorcycle?
For motorbikes, the ideal pressure washer is one with variable pressure control and a fan or gentle spray nozzle. A model delivering between 1,200 and 1,800 PSI is sufficient for most cleaning tasks. Compact, portable units such as cordless or battery-powered washers are excellent for home use and minimise the chance of overdoing it. Many riders also recommend units that include foam cannons, allowing for even soap application without harsh scrubbing.
You might also want to check out Top Motorcycle Maintenance Checks Before a Long Ride to ensure your bike stays in perfect condition after cleaning and before you hit the road.
Alternatives to Jet Washing
If you prefer to steer clear of jet washing altogether, there are plenty of safe and effective alternatives. A bucket of warm water mixed with a high-quality motorcycle shampoo, a microfibre mitt, and a gentle rinse with a hose will do the job without risk to sensitive parts. Waterless motorcycle cleaning sprays and biodegradable degreasers have become increasingly popular in 2025, offering eco-friendly solutions that reduce water usage and protect your bike’s finish.
Step-by-Step: How to Wash Your Motorcycle Safely
Preparation: Let the engine cool completely and park the bike in the shade.
Rinse: Use a hose or a low-pressure wash to remove loose dirt.
Wash: Apply motorcycle shampoo with a microfibre mitt, working from the top down.
Detail: Use soft brushes for wheels and hard-to-reach areas.
Rinse Again: Gently rinse off all soap using a pressure wash on a low setting or a hose.
Dry: Use a microfibre towel or a motorcycle dryer to prevent water spots.
Protect: Finish with a spray wax or ceramic coating to seal and protect the paintwork.
By following these steps, you’ll achieve a gleaming finish without risking damage to any vital components.
- Never clean your bike when the engine is hot, since you could get burned.
- Clean your bike in the shade. Some contaminants - like mineral deposits - are more harmful when warm and trickier to remove. Ideally, clean your bike after it has fully cooled down.