

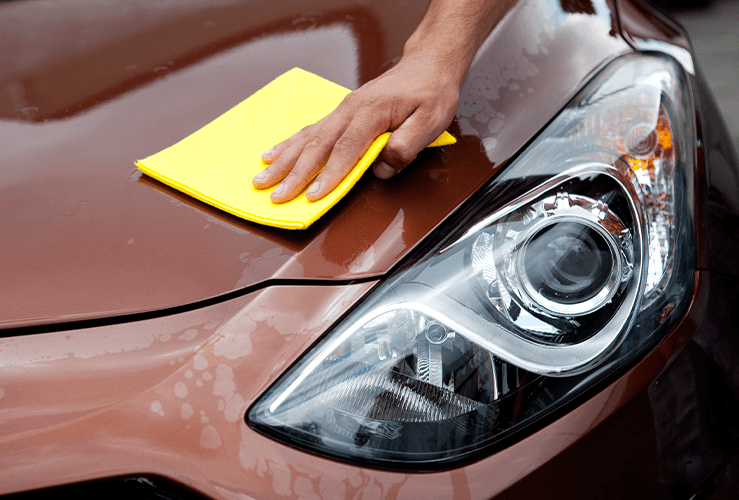
Over time, your vehicle's headlights can take on a yellowy, dull patina. Not only does this look unsightly, but it can reduce the brightness of your lights.
Ultraviolet light and exposure to the elements gradually wears away the UV protective top layer of the headlight's polycarbonate lens. However, with a small investment and a little elbow grease, your headlights can have their factory-new sparkle restored.
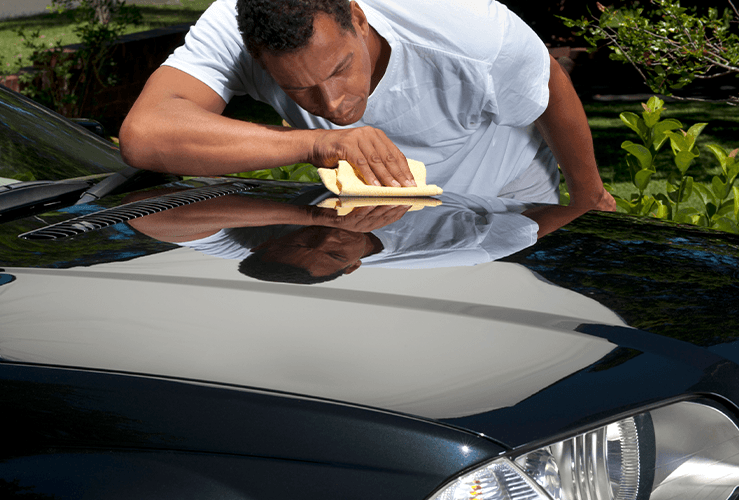
This is perhaps the simplest and cheapest way to clean your headlights. Toothpaste (not gel) with a gritty texture (ideally with baking soda) is best for this task. Simply apply toothpaste to your headlamps with an old toothbrush or similar implement. As you scrub the toothpaste into the surface, you should notice it turn yellow - which shows it is taking off particles of the oxidized/damaged lens. Use a water spray bottle and paper towel to clear off the paste, then repeat as many times as you wish. The more applications of toothpaste, the cleaner your headlights will look.
This process requires a little more investment and work, but is still much cheaper than buying a replacement headlamp assembly - and is likely more effective than toothpaste. You’ll need various grades of automotive sandpaper, abrasive compound, and ideally a drill with a polishing attachment.
- Thoroughly clean and wipe the headlight lens
- Use abrasives (sandpaper and abrasive compounds) to take off the top layer of the polycarbonate lens
- Use wax to give the lens a final polish.
Before you begin: Use masking tape to mask off the areas around the headlamp so there's no bodywork damage.
Start with rough sandpaper (around 500 grit) and sand the headlight in a vertical motion. Wrap it around a foam block to help maintain the pressure level and spray water on the lens as you go. Follow this up with a finer sandpaper (1000) and sand the headlamp in a horizontal motion; this will remove the vertical scratches. Finally choose a very fine sandpaper (3000) and sand in a vertical motion. As you use finer sandpaper you'll see the blurred lens take on a finer patina.
You can of course use additional grades of sandpaper for this process.
Alternatively, you can use a drill with a polishing attachment to do the job.
Next, use some abrasive compound and apply it to a cloth, then rub it into the lens surface.
It will be much quicker to use a drill with polishing attachment. Maintain a medium-light pressure and keep moving so the plastic doesn't melt.
For lenses with less damage, you can simply apply abrasive compound to a drill polisher and buff the top layer of the headlamp.
Baking soda and vinegar: using a rag or brush, rub the solution in a circular motion. Wash with water and repeat as required.
To keep your headlights looking shiny and clean, apply a protective top coat. One option is a UV hard coat, for which you'll also need a professional spray gun and UV heat lamp. UV hard coat is only available in large amounts.
A much cheaper option is to buy an aftermarket protective headlamp coating. This will last for about a year.
Headlight protection film, by contrast, will last about five years, and is a cost-effective way to keep your headlights looking sparkly clean.
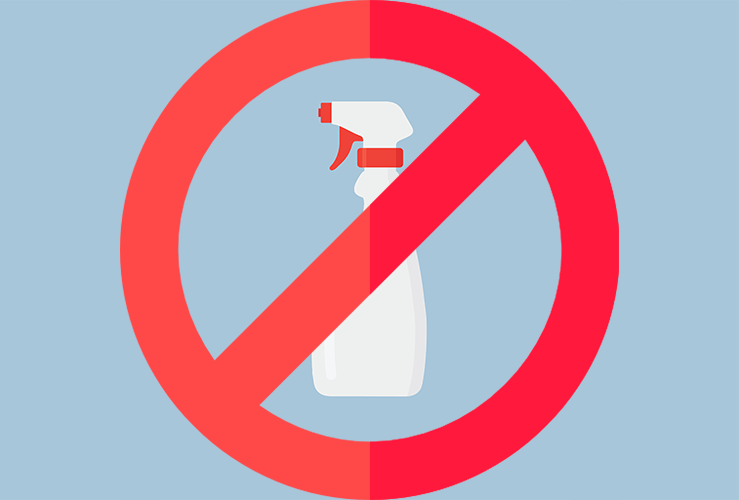
Short term, this makes your headlamps look clean and shiny. But the DEET chemical in insect spray actually melts the top layer of plastic, and after a few days the headlamp will look dull again. If you leave DEET on the headlamp's surface, rainwater can wash it onto your bodywork where it can cause surface damage.
This may work for about a year, but it wasn't designed for headlamps.